License plates are a necessary component of any vehicle, serving as a means of identification and compliance with legal requirements. Attaching a license plate to a vehicle often requires drilling holes into the vehicle’s body or frame.
While this may seem daunting, with the right tools and techniques, drilling holes for a license plate can be a straightforward process. In this guide, we’ll walk you through the steps to safely and effectively drill holes for a license plate.
Tools and Materials Required
Before you begin, it’s essential to gather all the necessary tools and materials:
- Cordless drill
- Drill bits (appropriate size for your license plate screws)
- Masking tape
- Marker or pencil
- Safety goggles
- Ruler or tape measure
- License plate frame (optional but recommended)
- License plate screws and screwdriver
Preparation
Selecting the Location: Choose where you want to mount your license plate. Typically, it’s placed on the front bumper or rear of the vehicle. Ensure that the location complies with local regulations.
Marking the Holes: Use a ruler or tape measure to find the exact placement for the holes. Most license plates have standard hole spacing, but double-check to ensure accuracy.
Marking and Masking

Marking the Drill Points: Use a marker or pencil to mark the drill points on the vehicle’s surface where the holes will be drilled. Make sure the marks are level and aligned correctly.
Applying Masking Tape: To prevent scratching or damaging the vehicle’s paint, apply strips of masking tape around the marked drill points. This will provide a protective barrier during the drilling process.
Drilling Process
Selecting the Drill Bit: Choose a drill bit size that matches the diameter of your license plate screws. It’s essential to use the correct size to ensure a secure fit.
Inserting the Drill Bit: Insert the selected drill bit into the chuck of your cordless drill and tighten securely.
Drilling the Holes: With the drill set to the appropriate speed, carefully drill through the marked points on the vehicle’s surface. Apply steady pressure and avoid forcing the drill to prevent damage.
Removing Debris: After drilling each hole, use a soft brush or cloth to remove any debris or metal shavings from the surface and around the drilled holes.
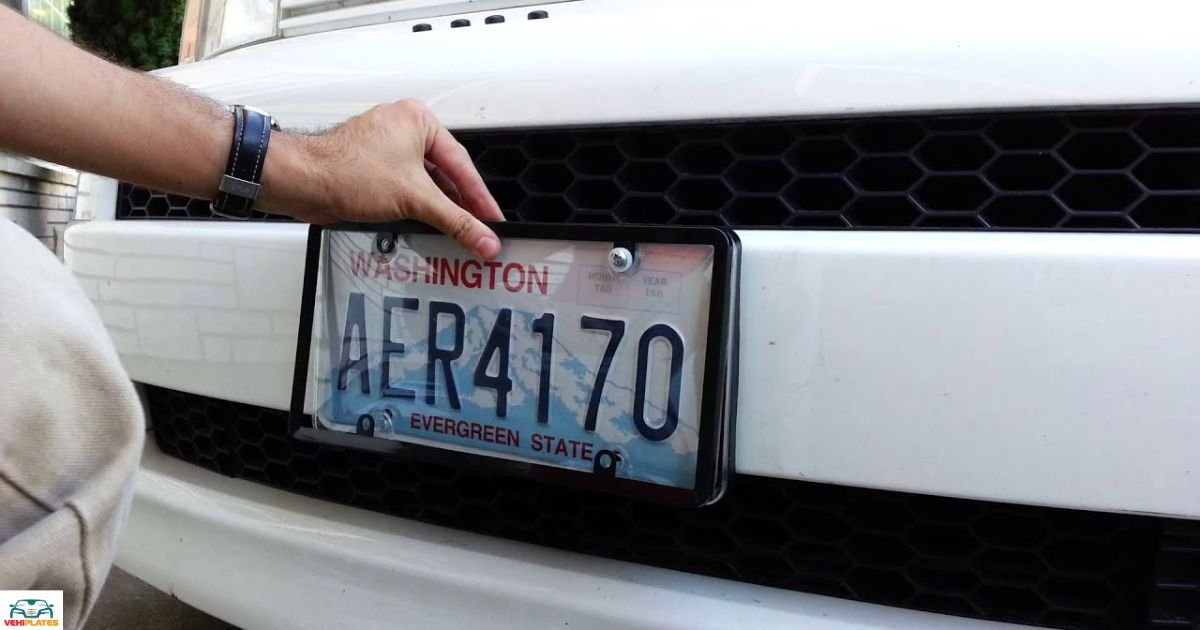
Mounting the License Plate
| Step | Description |
| 1. | Align license plates with drilled holes. |
| 2. | Insert screws through plate and frame (if used). |
| 3. | Secure screws tightly with a screwdriver. |
| 4. | Verify stability by gently shaking the plate. |
| 5. | Inspect finish and remove any remaining tape. |
Ensure screws are tightened securely to prevent the plate from becoming loose over time. Can you sell license plates? Double-check alignment before finalizing installation.
Final Checks

Verify Stability: Once the license plate is mounted, gently shake or tap it to ensure it’s securely fastened and doesn’t wobble.
Inspect the Finish: Remove any remaining masking tape and inspect the surrounding area for any scratches or damage. If necessary, use touch-up paint to cover any imperfections.
FAQ’s
What if I don’t have a cordless drill?
If you don’t have a cordless drill, you can use a corded drill or even a hand drill for this task.
Can I mount the license plate without drilling holes?
While there are alternative methods like adhesive mounts, drilling holes provides the most secure attachment, especially for long-term use.
How do I prevent the drill from slipping on the surface?
Using a center punch to make a small indentation at the drill points can help prevent the drill bit from slipping as you start drilling.
Conclusion
Drilling holes for a license plate may seem like a daunting task, but with the right tools and techniques, it can be accomplished safely and effectively.
By following the steps outlined in this guide, you can ensure that your license plate is securely mounted to your vehicle, providing both compliance with regulations and peace of mind.
Remember to always prioritize safety and accuracy throughout the process to achieve the best results.